Seguimos con nuestros primeros pasos explotando dispositivos Android. En este caso traemos uno de las aplicaciones incluidas en el OWASP MASTG.
Overview
Se nos da una aplicación que a priori detecta si nuestro dispositivo está rooteado, y de ser así nos echa de la aplicación:
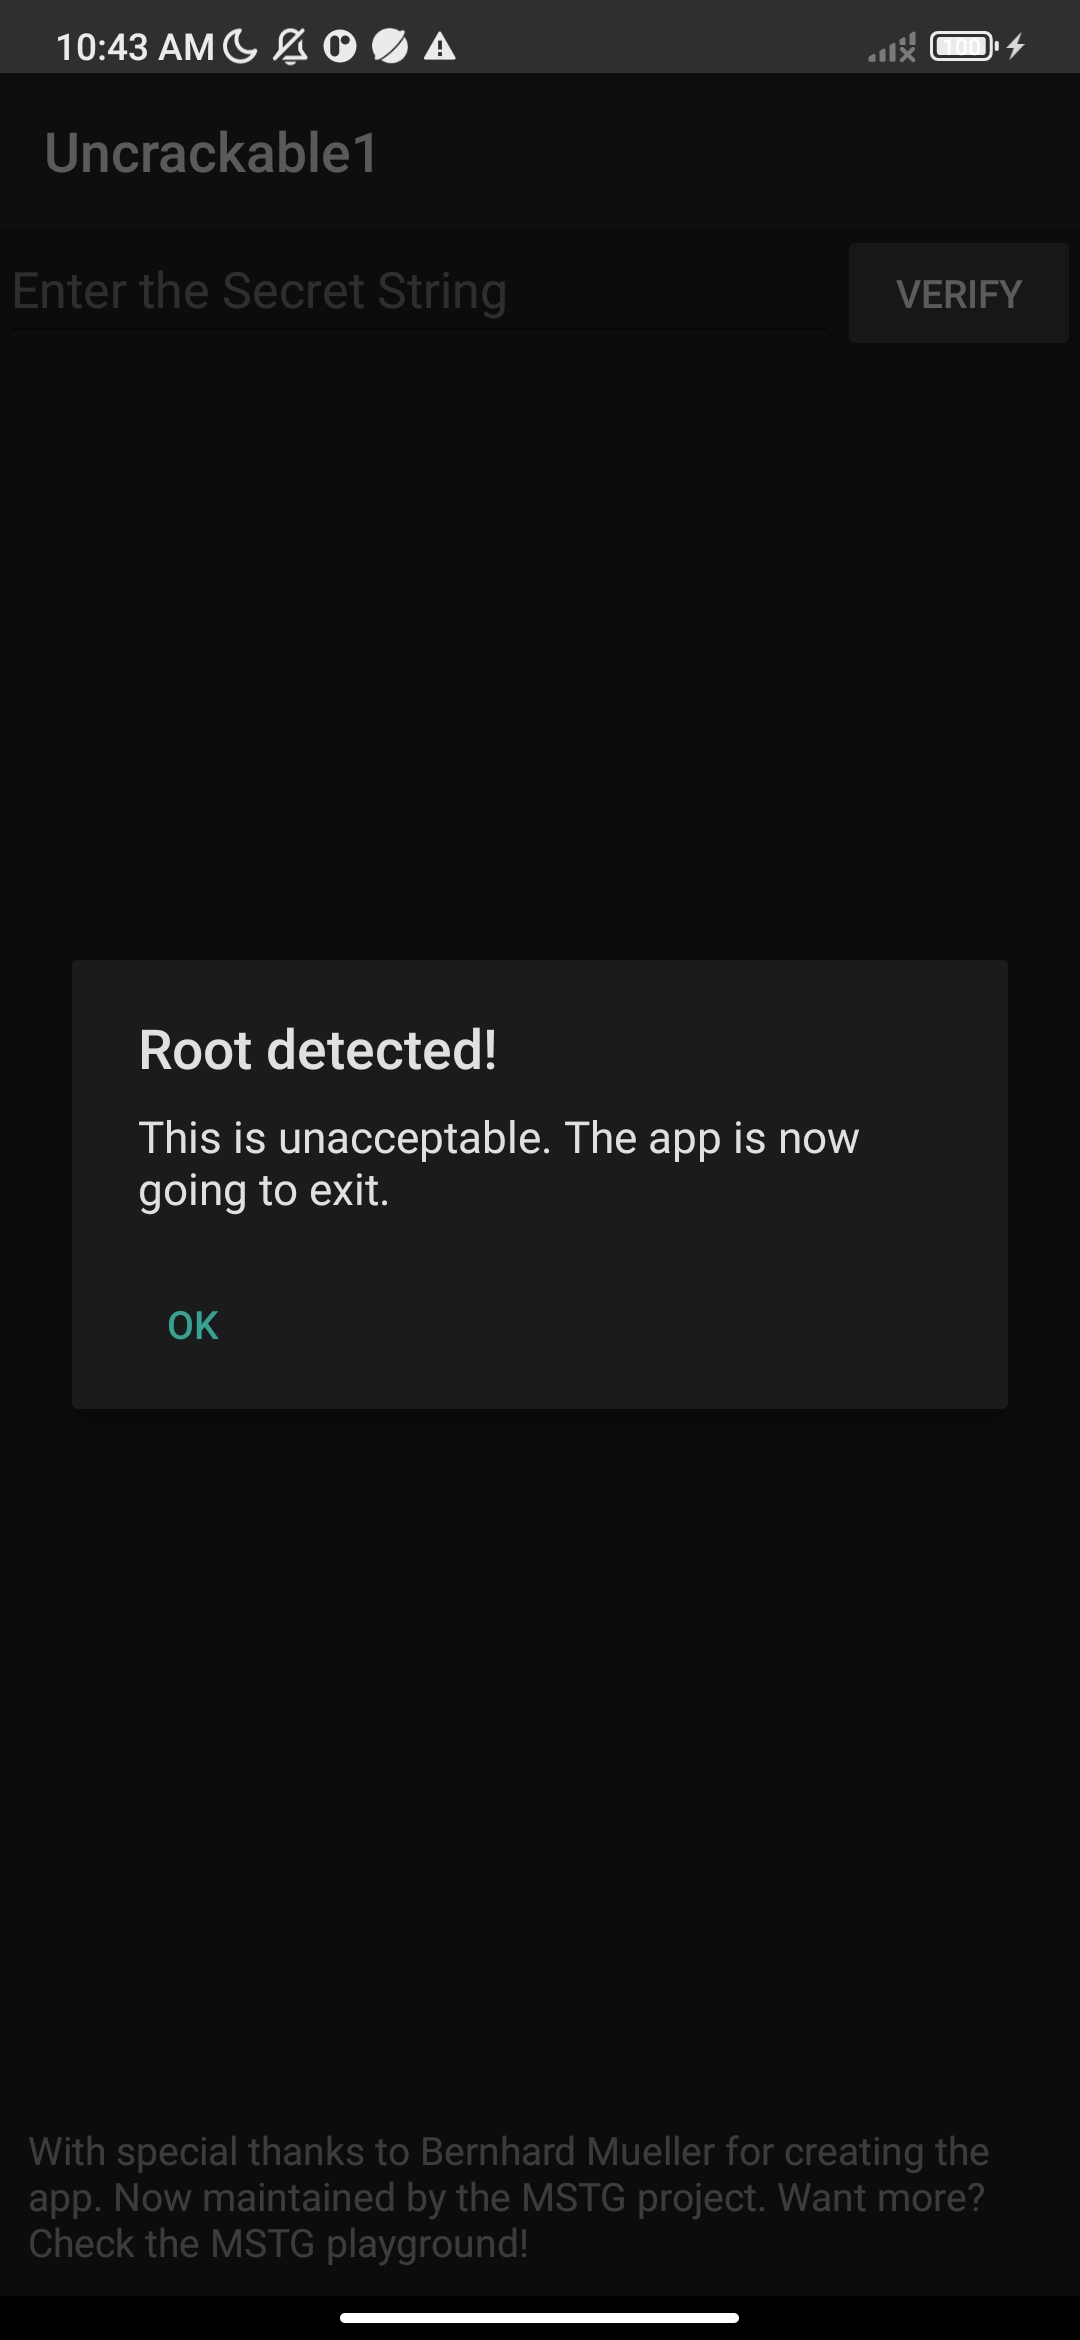
Lógicamente podemos evadir este mensaje si no utilizamos un dispositivo rooteado. Sin embargo, intentaremos saltarnos esta protección.
Reconocimiento
Comenzaremos descompilando el programa con jadx, y veremos que se aplican tres comprobaciones que determinan si el dispositivo tiene desbloqueado el superusuario.
public class a {
    public static byte[] a(byte[] bArr, byte[] bArr2) {
        SecretKeySpec secretKeySpec = new SecretKeySpec(bArr, "AES/ECB/PKCS7Padding");
        Cipher cipher = Cipher.getInstance("AES");
        cipher.init(2, secretKeySpec);
        return cipher.doFinal(bArr2);
    }
}

public class b {
    public static boolean a(Context context) {
        return (context.getApplicationContext().getApplicationInfo().flags & 2) != 0;
    }
}

public class c {
    public static boolean a() {
        for (String str : System.getenv("PATH").split(":")) {
            if (new File(str, "su").exists()) {
                return true;
            }
        }
        return false;
    }

    public static boolean b() {
        String str = Build.TAGS;
        return str != null && str.contains("test-keys");
    }

    public static boolean c() {
        for (String str : new String[]{"/system/app/Superuser.apk", "/system/xbin/daemonsu", "/system/etc/init.d/99SuperSUDaemon", "/system/bin/.ext/.su", "/system/etc/.has_su_daemon", "/system/etc/.installed_su_daemon", "/dev/com.koushikdutta.superuser.daemon/"}) {
            if (new File(str).exists()) {
                return true;
            }
        }
        return false;
    }
}
Vemos que estas comprobaciones se aplican al inicio:
protected void onCreate(Bundle bundle) {
    if (c.a() || c.b() || c.c()) {
        a("Root detected!");
    }
    if (b.a(getApplicationContext())) {
        a("App is debuggable!");
    }
    super.onCreate(bundle);
    setContentView(R.layout.activity_main);
}
Hookeando la fución con Frida
Haciendo uso de Frida, podemos saltarnos la protección. Para ello debemos ejecutar frida-server en el dispositivo víctima:
adb push frida-server /data/local/tmp
adb shell
su
cd /data/local/tmp/
./frida-server
A continuación, creamos un script bypass-check.js:
Java.perform(function() {
    var hook = Java.use("java.lang.System");
    hook.exit.implementation = function() {
        console.log("Root Check Bypassed!!! 😎");
    };
});
Esto convertirá las llamadas a exit en funciones vacías, permitiendonos saltarnos la protección. Para poder lanzar Frida debemos identificar el proceso de la aplicación:
adb shell ps | grep owasp

u0_a291       16690    687 5729020 120012 0                   0 S owasp.mstg.uncrackable1
Una vez tenemos el pid, podemos lanzar frida:
frida -U -p 16690 -l bypass-check.js

     ____
    / _  |   Frida 17.2.6 - A world-class dynamic instrumentation toolkit
   | (_| |
    > _  |   Commands:
   /_/ |_|       help      -> Displays the help system
   . . . .       object?   -> Display information about 'object'
   . . . .       exit/quit -> Exit
   . . . .
   . . . .   More info at https://frida.re/docs/home/
   . . . .
   . . . .   Connected to Mi Note 10 (id=b61dd82c)

[Mi Note 10::PID::16690 ]-> Root Check Bypassed!!! 😎
Obteniendo el código de verificación
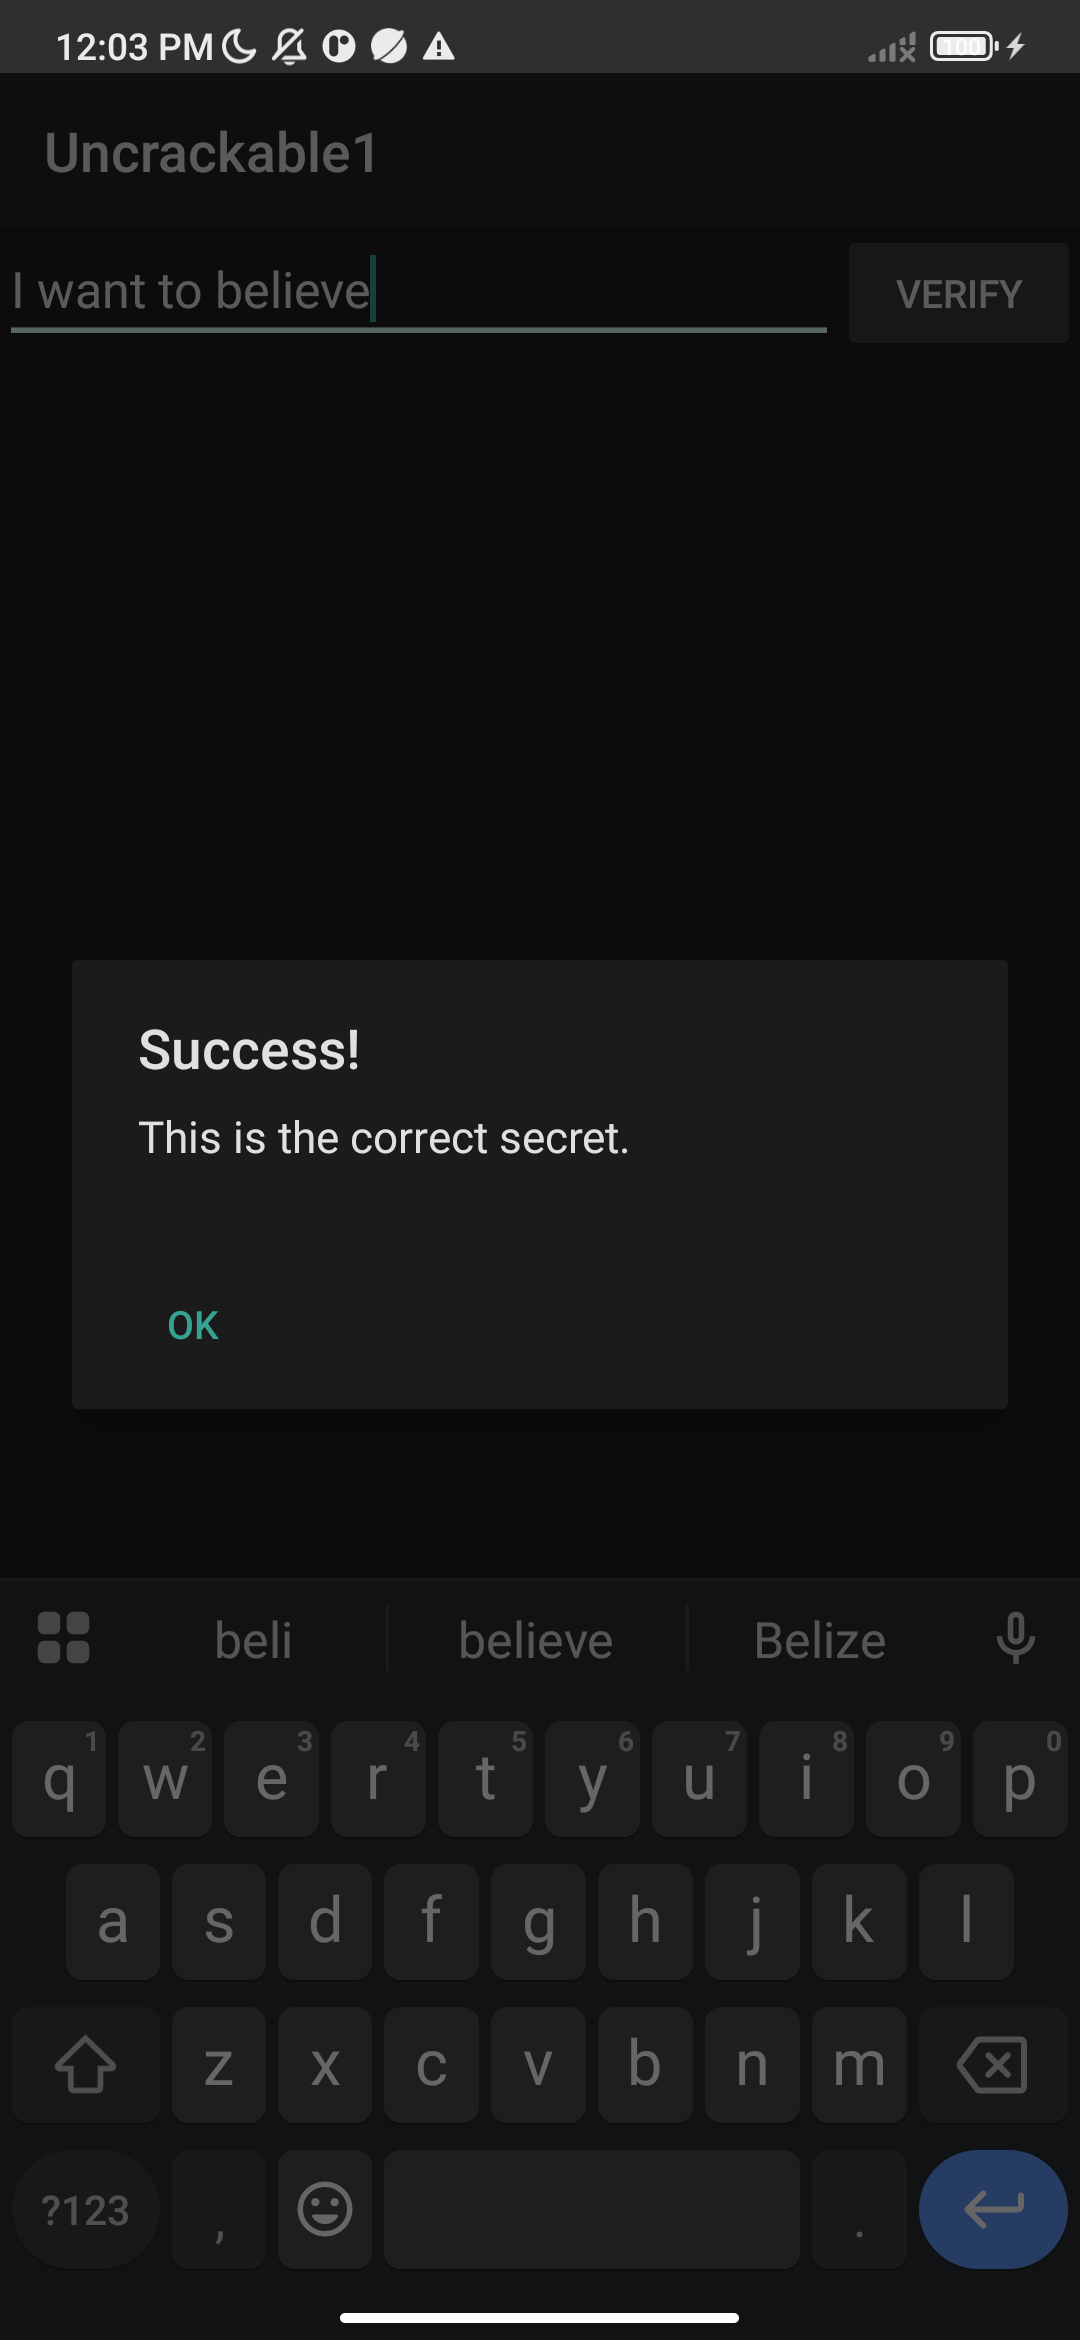
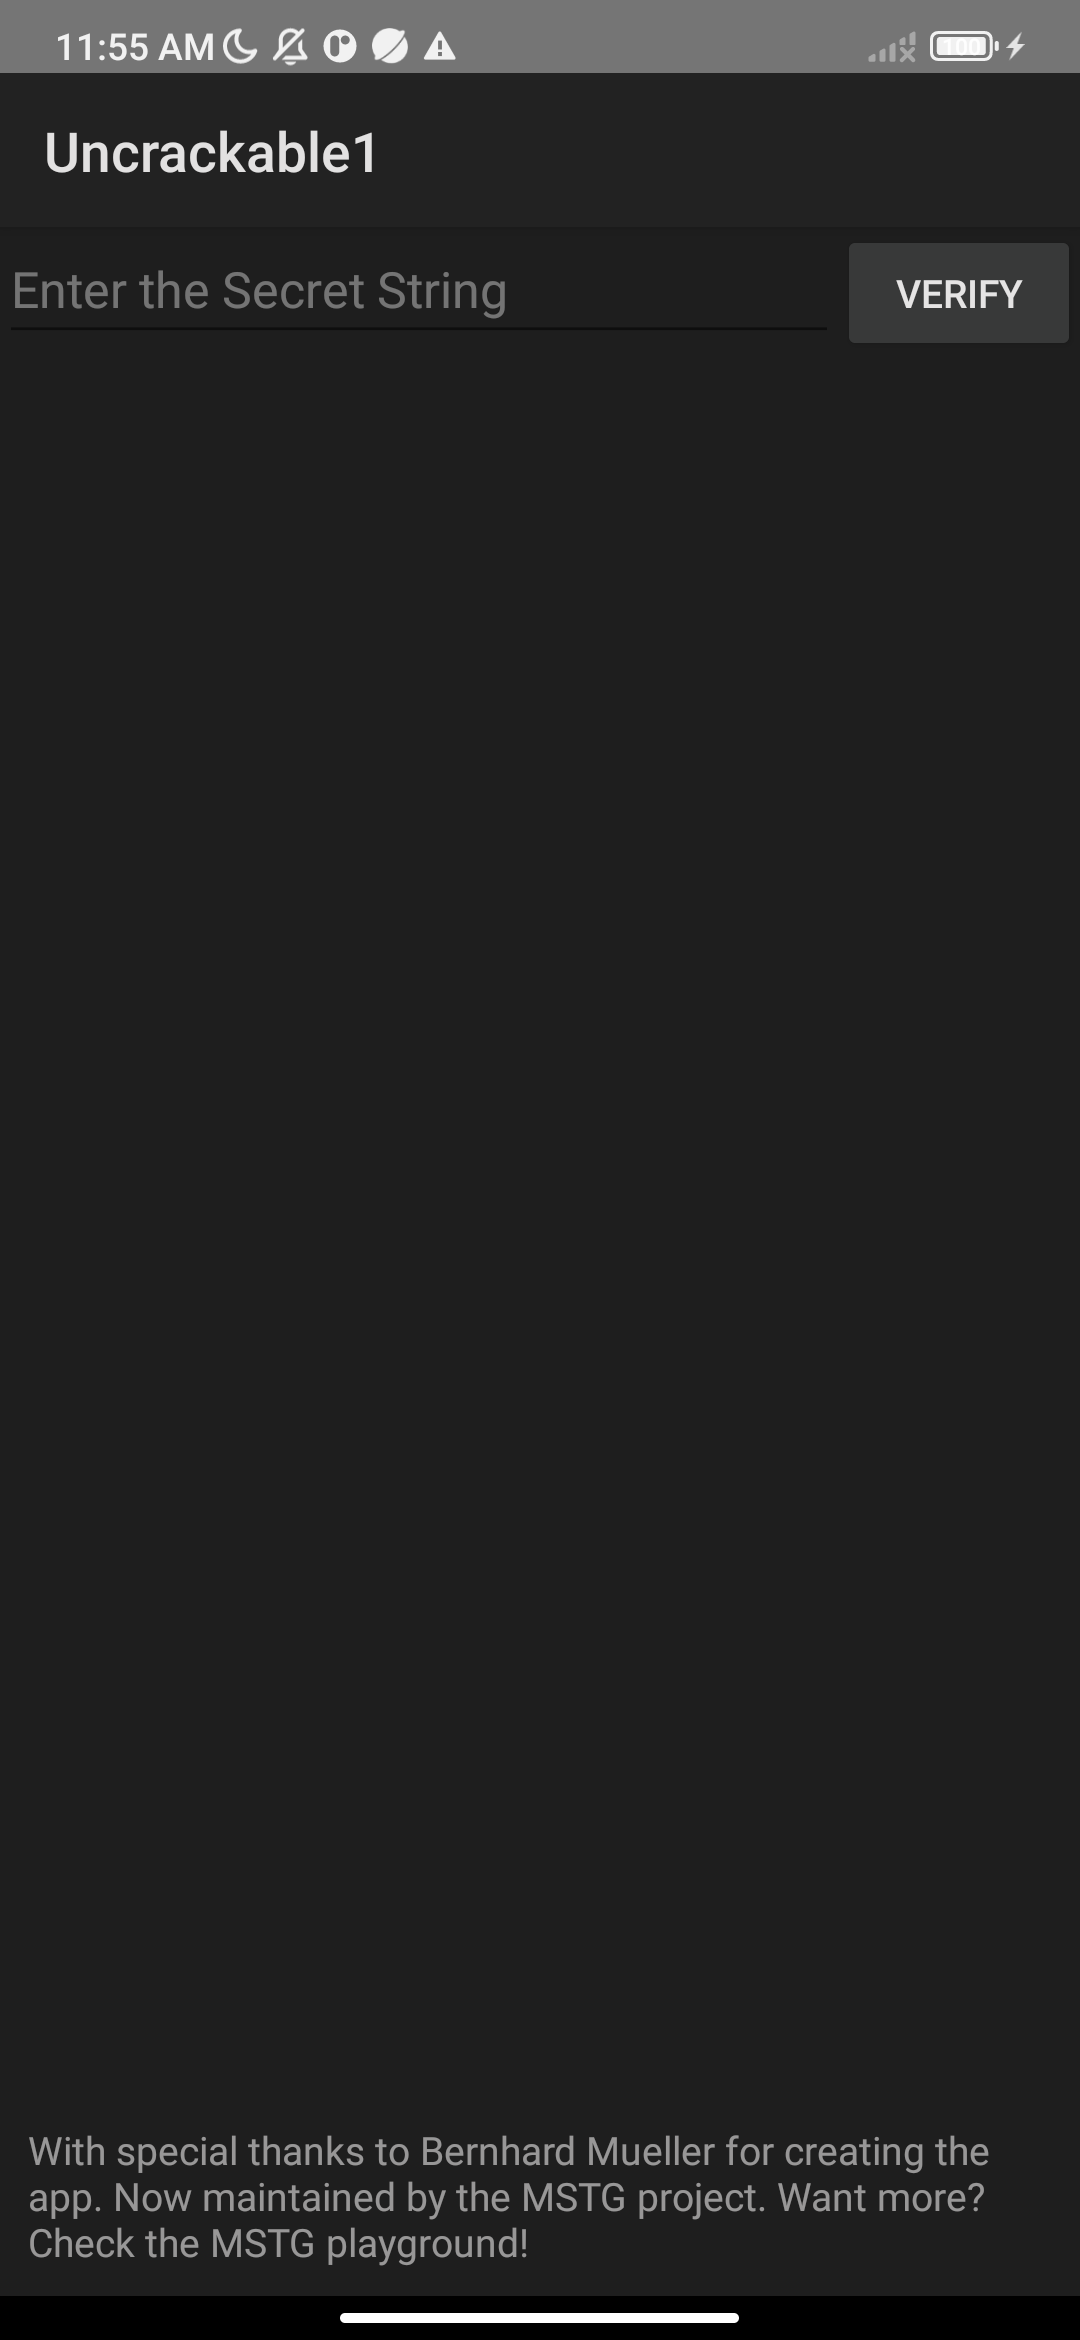
La pantalla principal del programa nos pide un código de verificación. Por suerte podemos ver algo en el propio código del programa:
public class a {
    public static boolean a(String str) {
        byte[] bArr;
        byte[] bArr2 = new byte[0];
        try {
            bArr = sg.vantagepoint.a.a.a(b("8d127684cbc37c17616d806cf50473cc"), Base64.decode("5UJiFctbmgbDoLXmpL12mkno8HT4Lv8dlat8FxR2GOc=", 0));
        } catch (Exception e) {
            Log.d("CodeCheck", "AES error:" + e.getMessage());
            bArr = bArr2;
        }
        return str.equals(new String(bArr));
    }

    public static byte[] b(String str) {
        int length = str.length();
        byte[] bArr = new byte[length / 2];
        for (int i = 0; i < length; i += 2) {
            bArr[i / 2] = (byte) ((Character.digit(str.charAt(i), 16) << 4) + Character.digit(str.charAt(i + 1), 16));
        }
        return bArr;
    }
}
Dado que tenemos el código cifrado y la clave codificada como base64, podemos descifrarlo con un programa en python:
from base64 import b64decode
from Crypto.Cipher import AES

# Clave en hexadecimal
key_hex = "8d127684cbc37c17616d806cf50473cc"
key = bytes.fromhex(key_hex)

# Ciphertext en base64
ciphertext_b64 = "5UJiFctbmgbDoLXmpL12mkno8HT4Lv8dlat8FxR2GOc="
ciphertext = b64decode(ciphertext_b64)

# Descifrar con AES ECB
cipher = AES.new(key, AES.MODE_ECB)
plaintext = cipher.decrypt(ciphertext)

# Eliminar padding PKCS#7
padding_len = plaintext[-1]
plaintext = plaintext[:-padding_len]

# Mostrar resultado
print("El secreto es:", plaintext.decode())
python secret_extrator.py
El secreto es: I want to believe
Si lo introducimos en el programa podremos superar el reto!